If you’d rather listen to this article than read it, check Episode 9 of the Charlie’s Music Production Lessons podcast.
Since I’m getting more into writing video game music, and since a lot of game developers are looking for an old school chiptune synth sound, I thought I should learn the authentic way to make them: by using a music tracker.
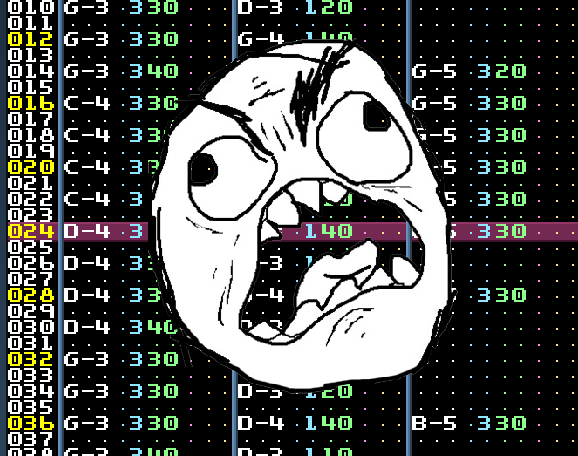
If you’ve never seen a tracker before, it looks more like computer code than a modern music sequencer. Instead of seeing waveforms, you have a scrolling list of all the notes, like “A4” and “C#3,” along with numbers representing their volume, effects, etc.
Kind of intimidating at first glance.
![]()
I thought I’d give it a shot though, so I downloaded a free tracker that works on Mac called MilkyTracker. I got really excited about it after watching tutorials and seeing that it wasn’t as daunting as I thought.
But then I tried making a song, and it seemed painfully tedious. It felt really clunky when I tried my normal method of composing and recording on the fly, as I do in Ableton Live. I decided I would probably give up.
But after a little break, my perspective started to shift. I realized my tracker experience would be much better if I had the melodies and chords fleshed out in my head before I start typing in note after note.
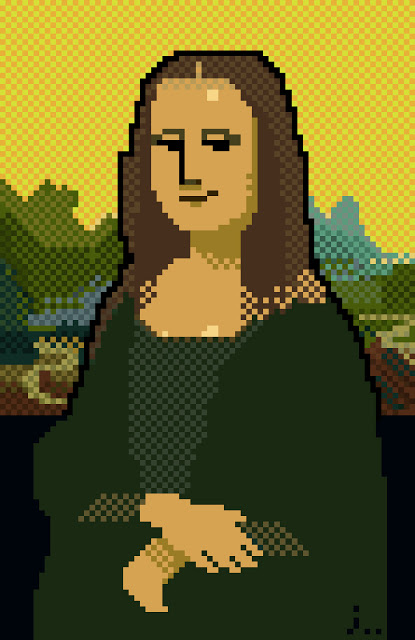 Think of it like pixel art…
If you were drawing pixel by pixel without an idea of the final drawing, it might eventually turn into something cool and unexpected, but it would be much quicker and probably more satisfying if you can imagine the whole picture before you start.
Also, your first attempt at pixel art would probably be a tiny avatar or sprite, not a huge pixel art version of the Mona Lisa. That’s another thing that initially discouraged me. I was trying to make the musical equivalent of the Mona Lisa right away, when I should have approached my first chiptune song like drawing a tiny picture.
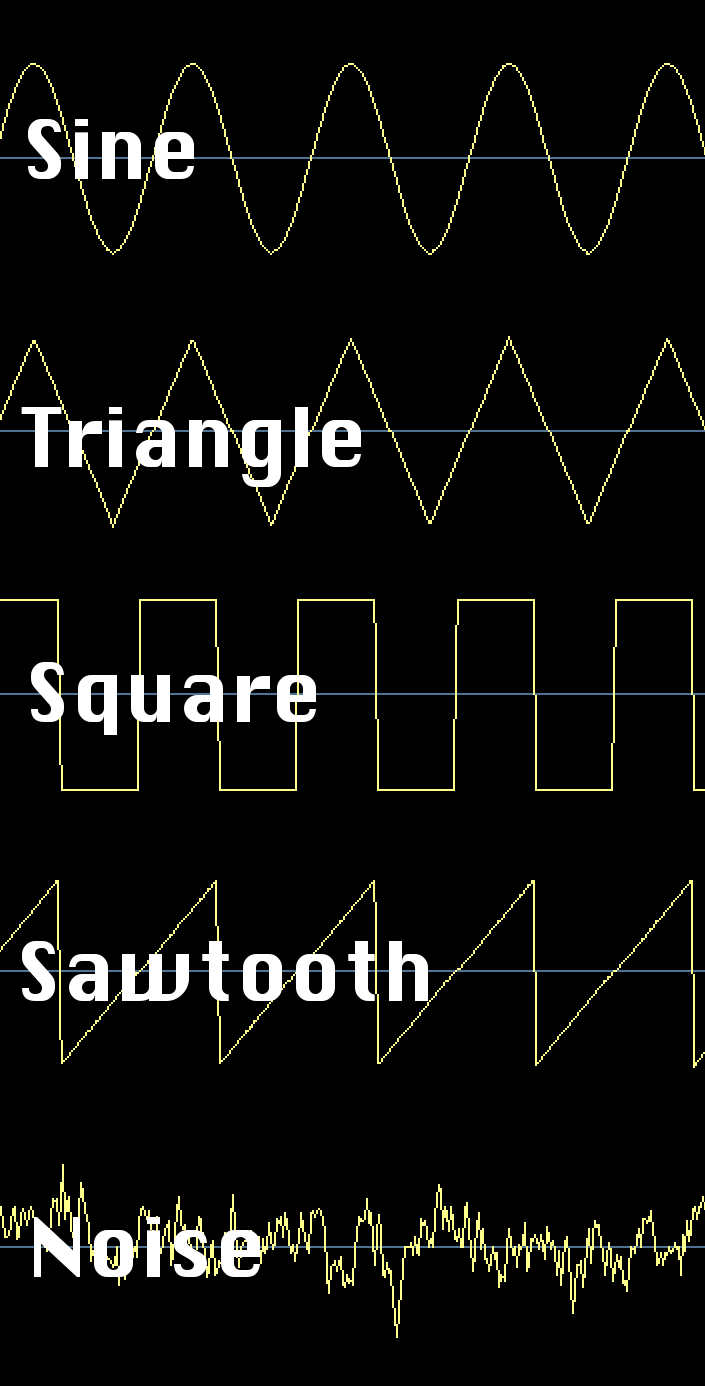 I also thought I needed to start with a huge musical color palette by creating some intricate sample sounds. But again, thinking about the importance of constraints in art, I realized I should just see what I can do with the basic sounds – sine wave, triangle wave, square wave, sawtooth wave, and noise.
My Song
So for my second attempt at creating a chiptune track, I waited until a melody popped into my head. I recorded a simple demo of me singing the melody and playing the bassline on piano (note: my goal was to create a chiptune jingle for my Composer Quest patron Rob Waite – that’s what these lyrics are all about).
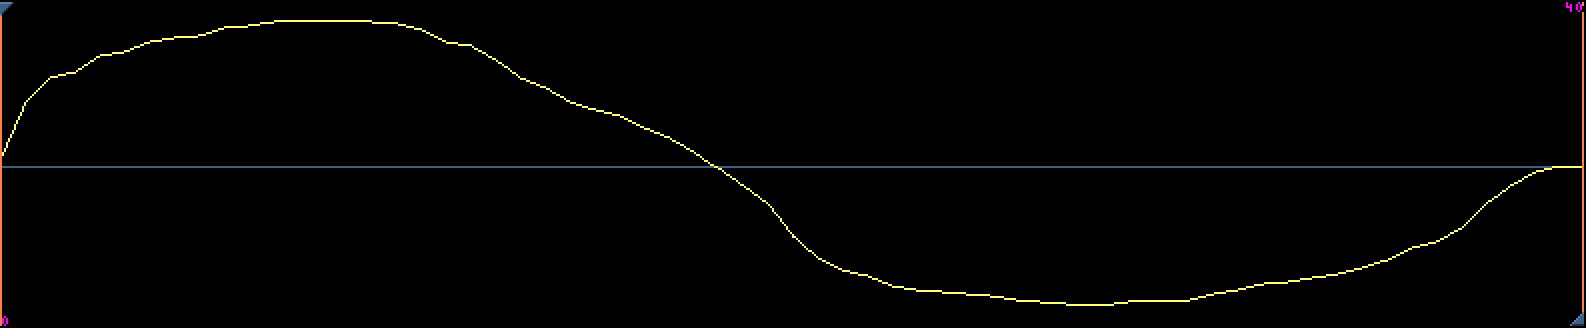
[audio:https://www.charliemccarron.com/wp/wp-content/uploads/2014/09/Rob-Waite-Jingle.mp3]From there, I started entering the notes one by one in MilkyTracker. First, I created a quick bass sound, which is basically a sine wave, but I hand drew it so it would have a little more grit.
I figured that sound would work for the melody part, too.
[audio:https://www.charliemccarron.com/wp/wp-content/uploads/2014/09/02-RW-Melody-Edit.mp3]The drums are just pink noise samples, played at different frequencies to get a slightly different sound for the kick, snare, and hihats.
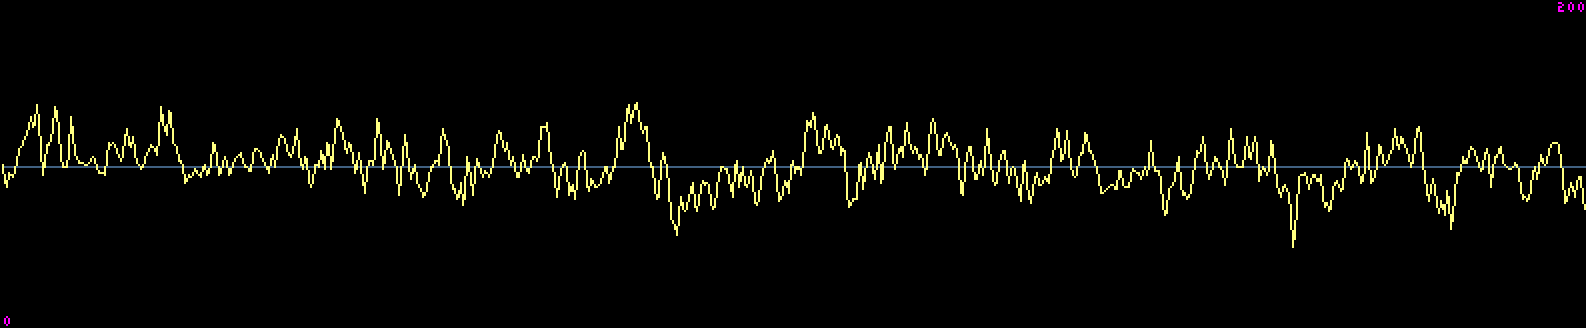
I listened back to what I had so far, and I started hearing a counter-melody, which I added with a triangle wave.

To give the ends of my phrases some life, I added a solo part with a crunchy synth. I just hit random notes in the key of G, then edited a few of them.
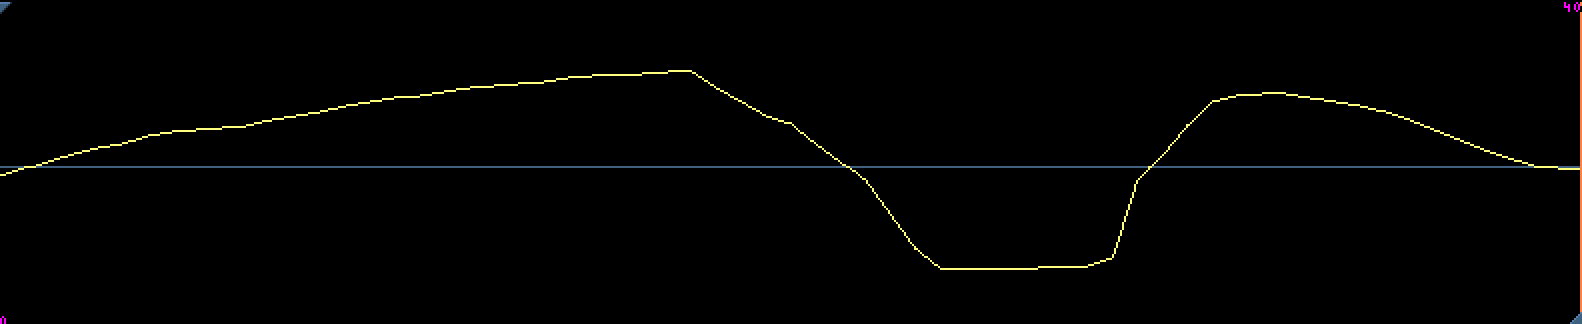
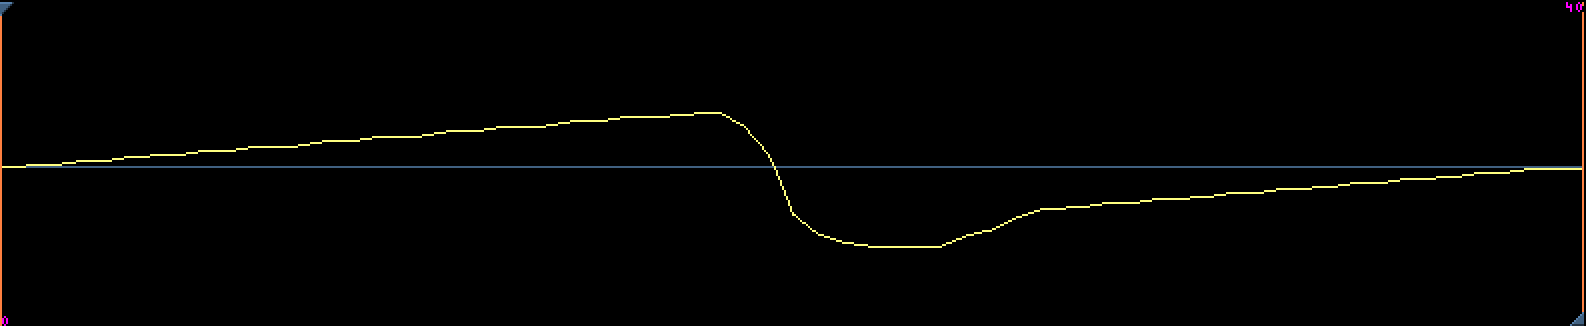
For the climax of the song, I wanted to fill out the texture with a gentle high-pitch pad…
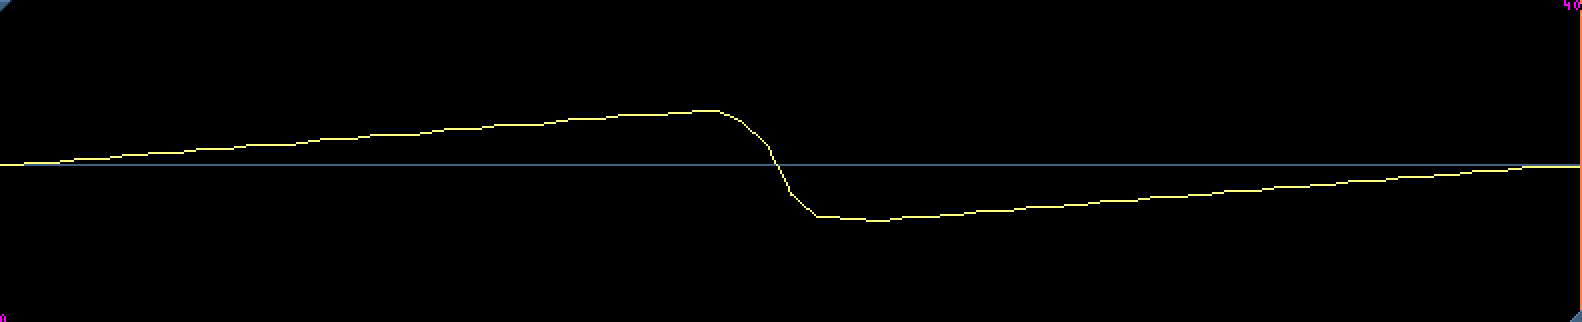
…and a grungy bass synth.

By then, I was pretty happy with my instrumental chiptune track:
[audio:https://www.charliemccarron.com/wp/wp-content/uploads/2014/09/Rob-Waite-Instrumental.mp3]Bonus: Vocoding Chiptune Vocals
Since I made this song intending it to be a jingle for my Composer Quest patron Rob Waite, I somehow had to add my lyrics without it sounding too tacked-on to this otherwise authentic chiptune production. I decided the best way would be to use a vocoder effect in Ableton live and feed in a slightly smoothed sawtooth wave from MilkyTracker as the carrier sound.
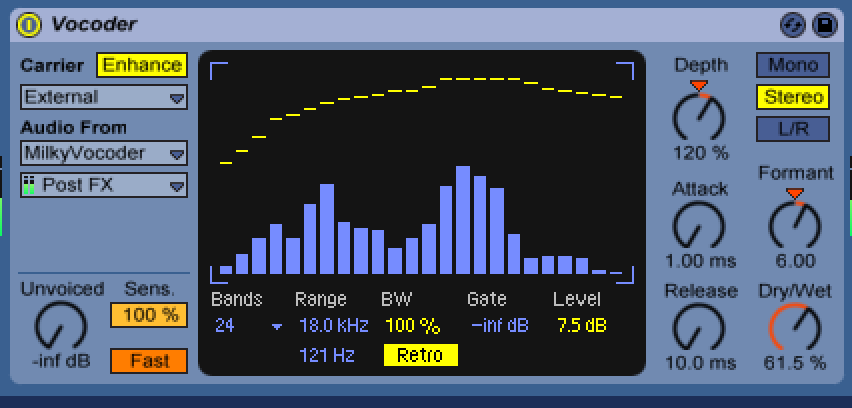
If you don’t know how vocoders work, you’re basically filtering one sound with another sound’s frequency spectrum. So my voice, completely filtered through a sawtooth wave, sounds like this:
[audio:https://www.charliemccarron.com/wp/wp-content/uploads/2014/09/10-RW-Fully-Vocoded-Vocals-Edit.mp3]The only issue is that the lyrics are still kind of hard to understand, especially with the background music going. So I turned the vocoder effect down to about half strength, so my original vocal recording pops through with the consonants where they’re needed for clarity.
[audio:https://www.charliemccarron.com/wp/wp-content/uploads/2014/09/11-RW-Half-Vocoded-Vocals-Edit.mp3]As a sidenote, I’ve noticed that when you’re using a vocoder with vocals, you want a carrier sound that has a lot of grit (meaning a wide frequency band), so all the higher frequencies of your voice carry through and make the lyrics more comprehensible. A sine or triangle wave, for example, wouldn’t work as well as a square or sawtooth wave.
Now the vocals work much better in the mix:
[audio:https://www.charliemccarron.com/wp/wp-content/uploads/2014/09/Rob-Waite-Jingle1.mp3]MilkyTracker Resources
Here are some great resources to help you learn MilkyTracker:
MilkyTracker Guide – helps you understand the interface.
MilkyTracker Official Manual
MilkyTracker Tutorial – not the best English, but a helpful step-by-step tutorial.
Simon Wessel’s Video Tutorial – bite-size MilkyTracker lessons (or should I say bit-size?).
Brandon Walsh’s Video Tutorial – in-depth videos from a veteran chiptune creator.


This is great! I just started learning Famitracker (a NES soundchip emulator) a few weeks ago after using Ableton for almost 7 years. I had a really hard time getting grips on it, but now I am really starting to love working in it. The level of control you get for each note you place is amazing. It’s been fun making crazy little game loops.
Beyond that, it’s just great working in a different environment. I’ve written songs that I probably wouldn’t have made in a more visual environment like Ableton. 😀
Yeah, it’s interesting how much your music changes based on what “instrument” you’re using (including music software). I might have to ask you for tips, too, Benjamin!
Some people also like to choose song lyrics by pulling them out of a hat. With some friends, write down a series of words that would sound good in a song. Pull out two or three words at a time. If they work well together, try to incorporate them into one line in a song.
Hi! Love the song. I wanted to try out the MilkyTracker, but the website is down. Are there any other trackers you would recommend? (casual beginner)
Thanks!
Melissa
Thanks, Melissa! If you’re on Windows, I’ve heard people recommend Famitracker. Otherwise, here’s a list of others. Good luck!
This article is amazing. I have covered songs in Milky Tracker, but I find it dificult to make my own songs. Thank you